
I will begin with a series of photos for those of you who don’t care about the DIY instructions, and are only here for the visual aspect of the process from start to finish.

I did miss a couple process shots along the way, so if it’s unclear to you what I did, feel free to ask questions.
I’d be happy to answer them…if I can remember. LOL!


The Process…if you care…
- Purchase multiple styles of table legs from https://www.hairpinlegshop.com/ …at least two years in advance because they will come in handy when you finally create something.
- Find a husband (or other suitable acquaintance) who can find a tree with a uniquely shaped base, and cut it down for you.
- Let said trunk dry for a year or more.
- Have the chunk of tree stump, sawn into hefty slices by a friend who has a commercial band saw.
- Let it dry more.
- Let it dry more.
- Sand it.
- Sand it more.
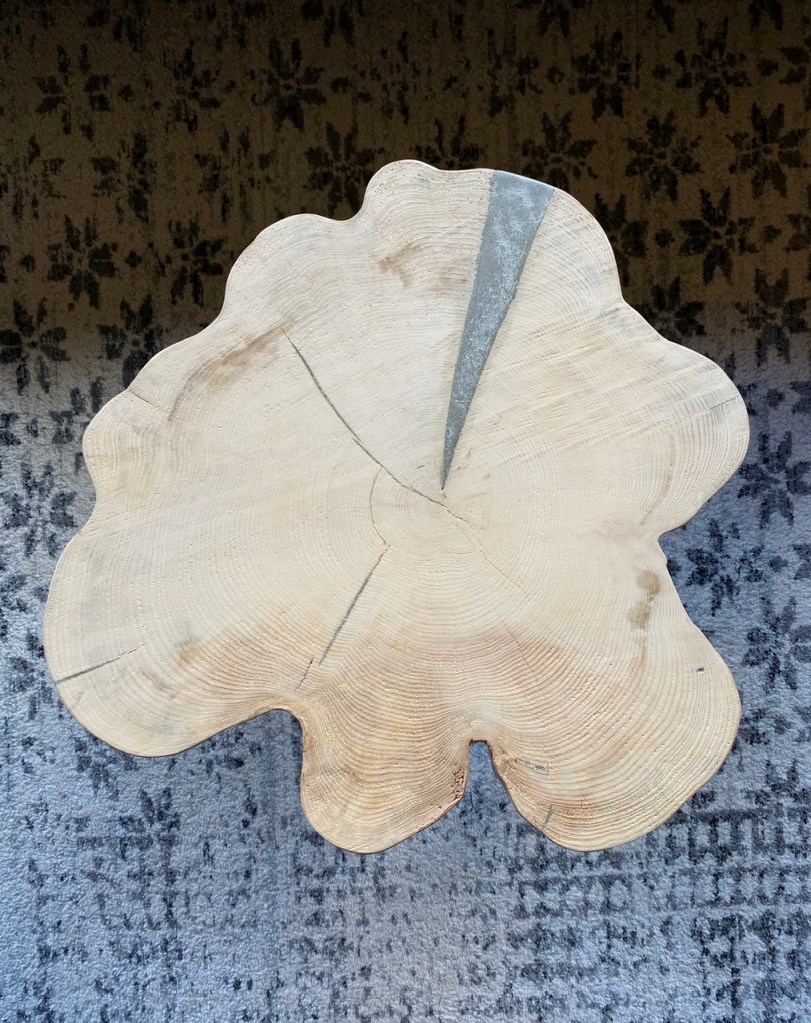
- When cracking occurs during drying process, begin to think about whether you will leave the crack open or have it be filled with something.
- I decided I wanted to try filling the crack with cement.
- Ponder for a long while how you will do this.
- Have husband or significant other buy spray insulation, tape and concrete mix from Home Hardware in Prince Albert, Saskatchewan, because that’s an easy stop on the way home…and we know Joe.
- Have son-in-law, (mine is Michiel, but for ease of Canadian pronunciation, most call him Mike) Hagenouw Ventures who isn’t afraid of trying new things assist you.
- No son-in law…that’s too bad or you, but I have faith in you that you can figure it out.
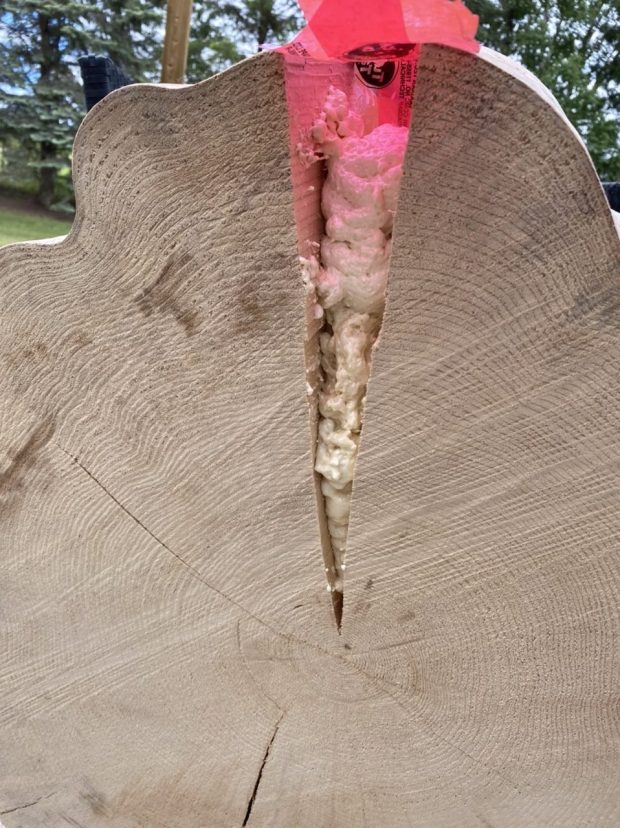
- Apply tape to contain spray foam insulation. Be careful because it does continue expanding long after you may think its done expanding. I just didn’t want to fill the large crack with so much cement. That’s why the filler first. Remember to leave spas on the top to add cement later. Do not use red tape as some of it may stay behind…which requires more sanding. I recommend clear tape.
- Remove the tape. The side of the slice was filled right to the edge so I needed to trim back the insulation with a sharp knife to make room for the concrete mix. Hindsight, I would have taped inside so I didn’t need to cut that away.
- Create a smooth barrier using tape and cardboard to hold the cement in place when you pour it.
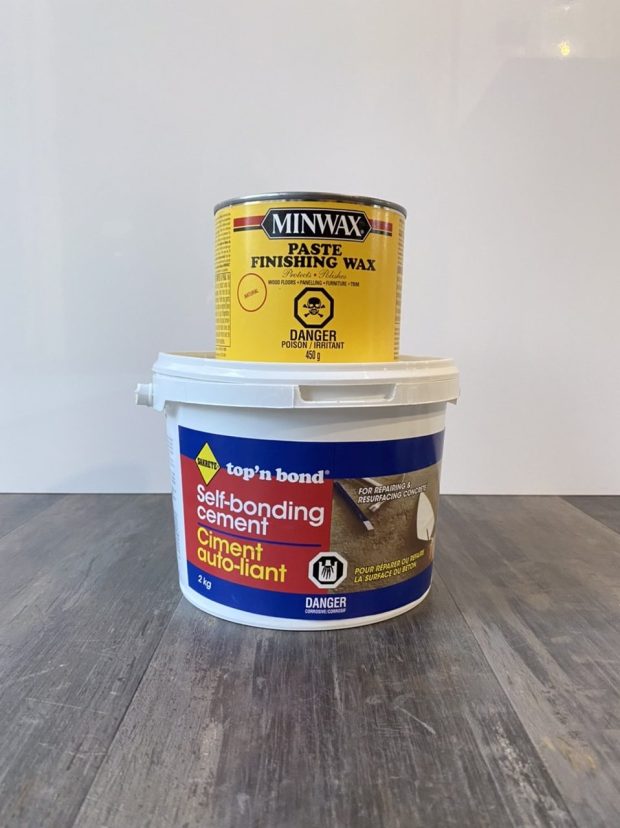
- Mix cement according to directions. I used Sakrete top’n bond Self-bonding Cement.
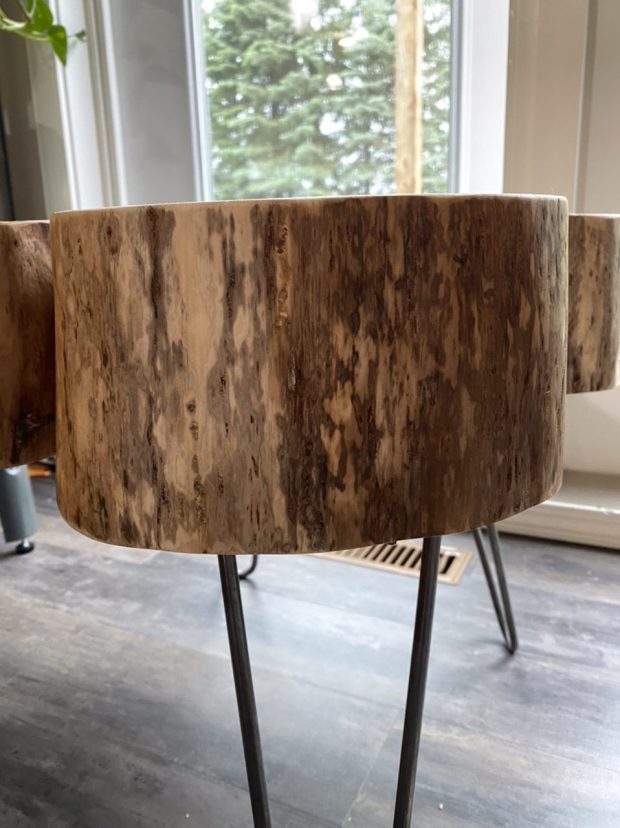
- Pour/pat in concrete. I wasn’t able to get it in one pour down the side so. After it set and I removed the cardboard and tape and I did a second application by hand to fill in the remaining space. This resulted in a slight colour variant, but I’m okay with that. More originality is what I say to make myself feel better.
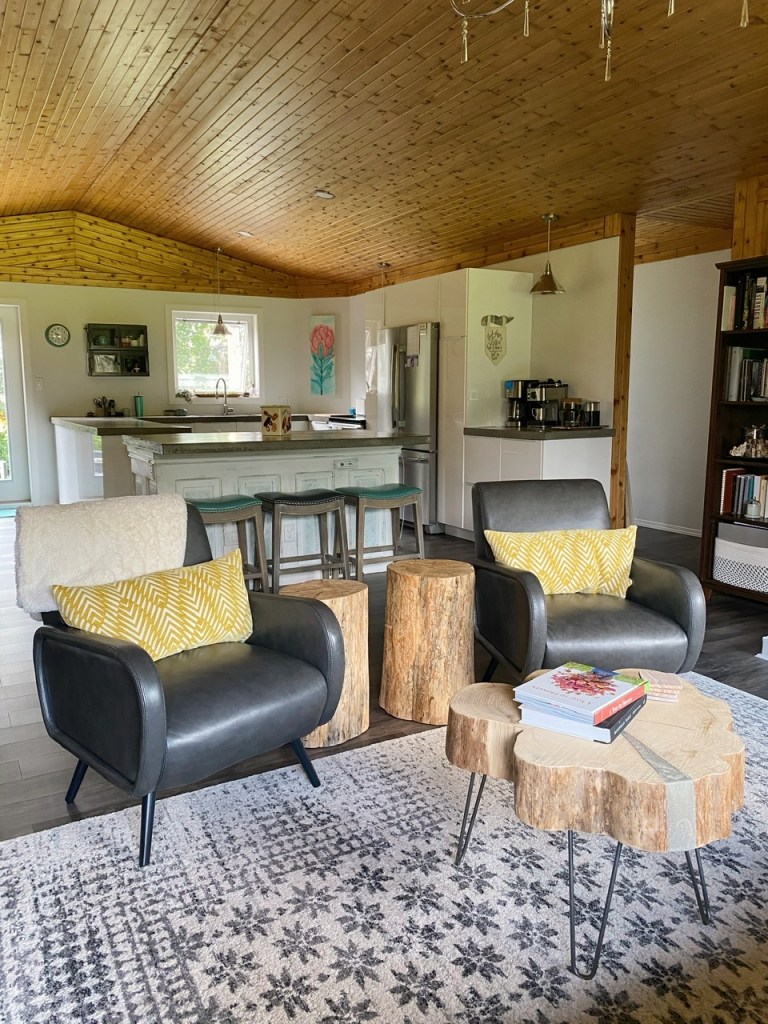
- Ask the same son-in-law to help put hairpin legs on. He’s patient and has tools (mine that is). Tried three legs but we felt it wasn’t stable enough for the ‘littles’ who Hank out here and might lean on it…tipping it, becoming injured and requiring medical care.
- Removed and reset with four legs.
- Adjusted placement of legs.
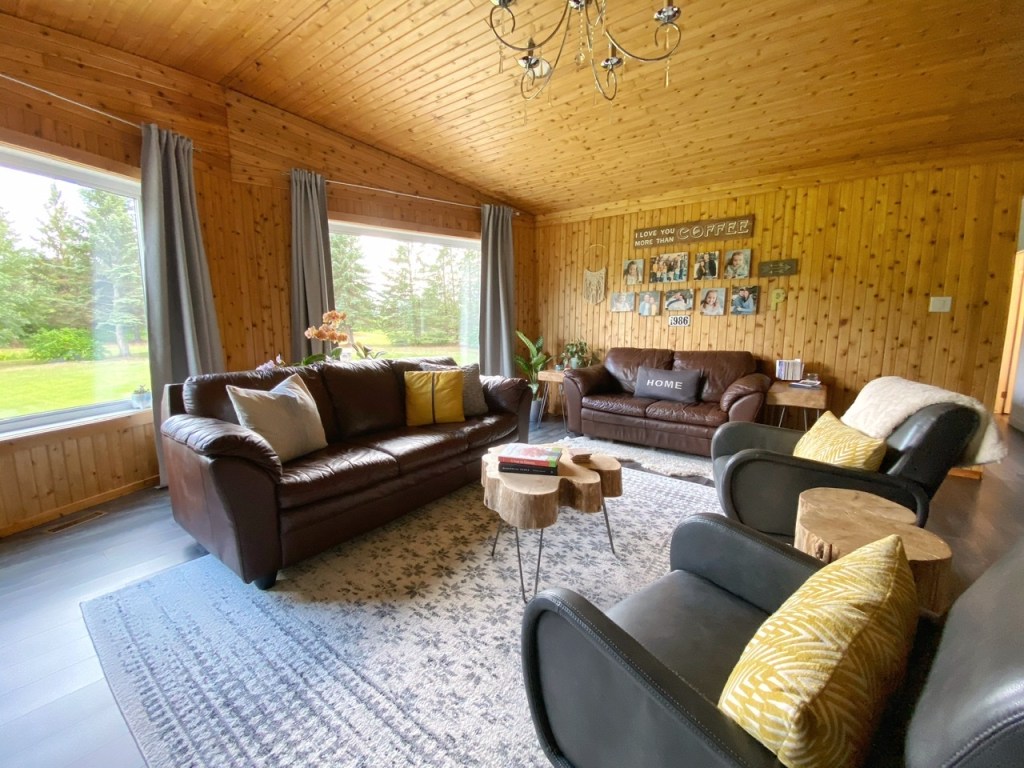
- Admired it to this point in its future space.
- Next up…take a break. Next day take it back outside and sand some more.
- Sand some more, going to a finer grit each time. I used a circular palm sander.
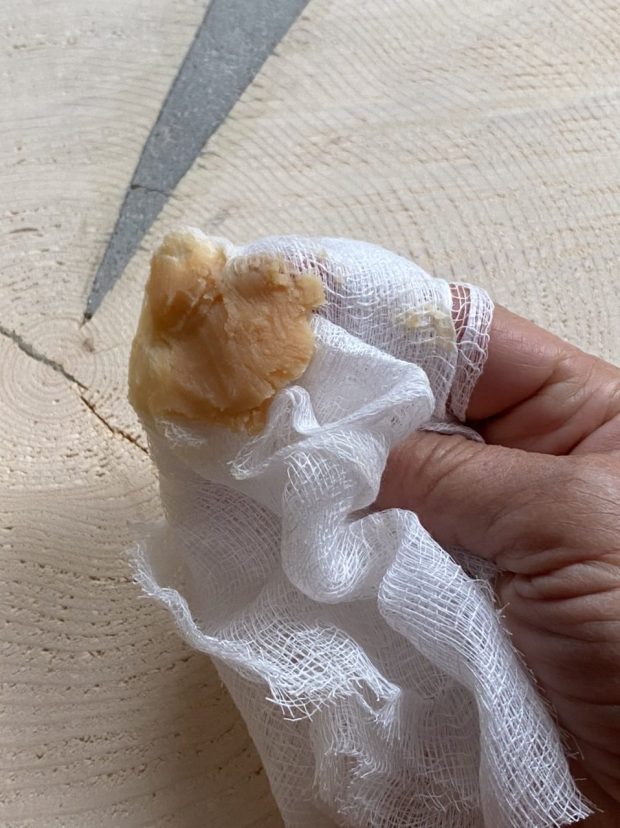
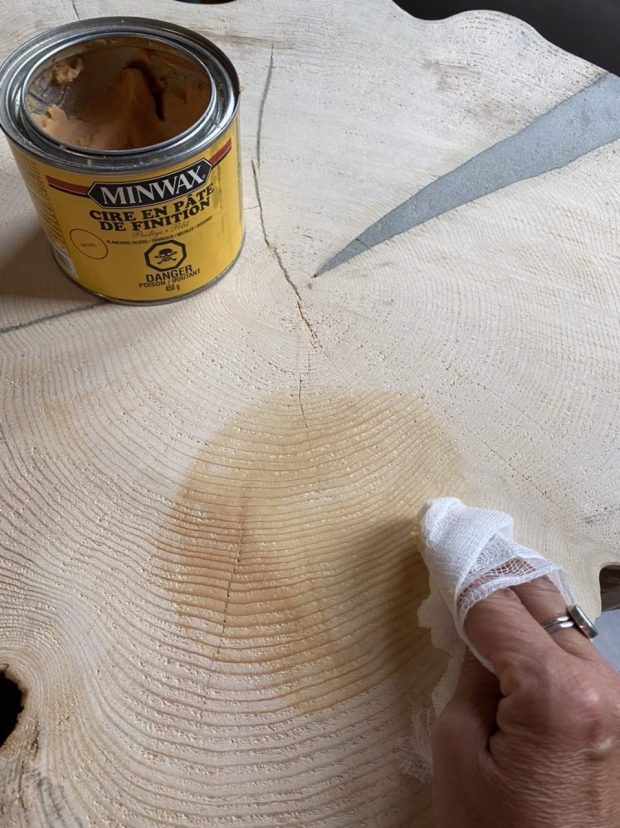
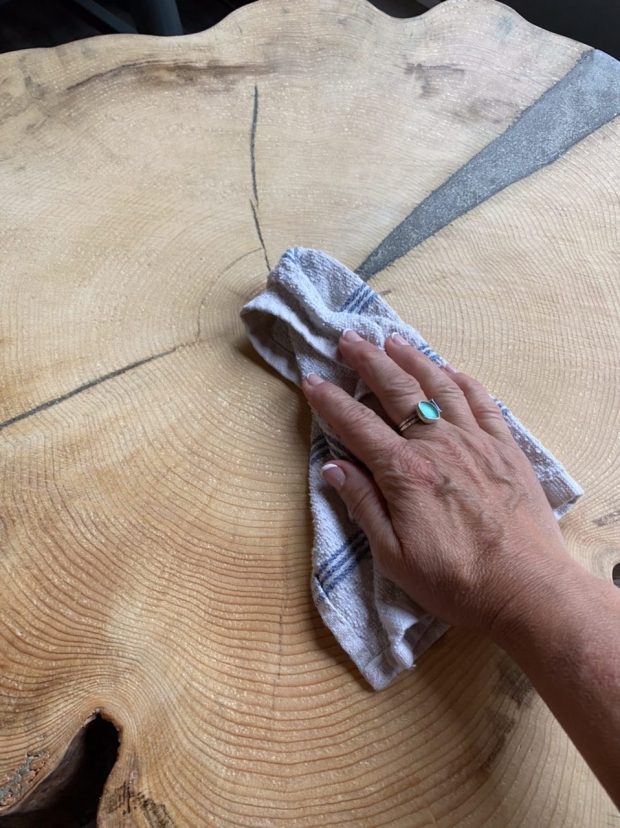
- Time to wax it. I used Minwax Paste Finishing Wax. Applied it with cheesecloth and buffed it up within 10 minutes with a clean cloth.
- Buff some more.
- Buff some more.
- Take Ibroprofin for your sore arms and wrists.
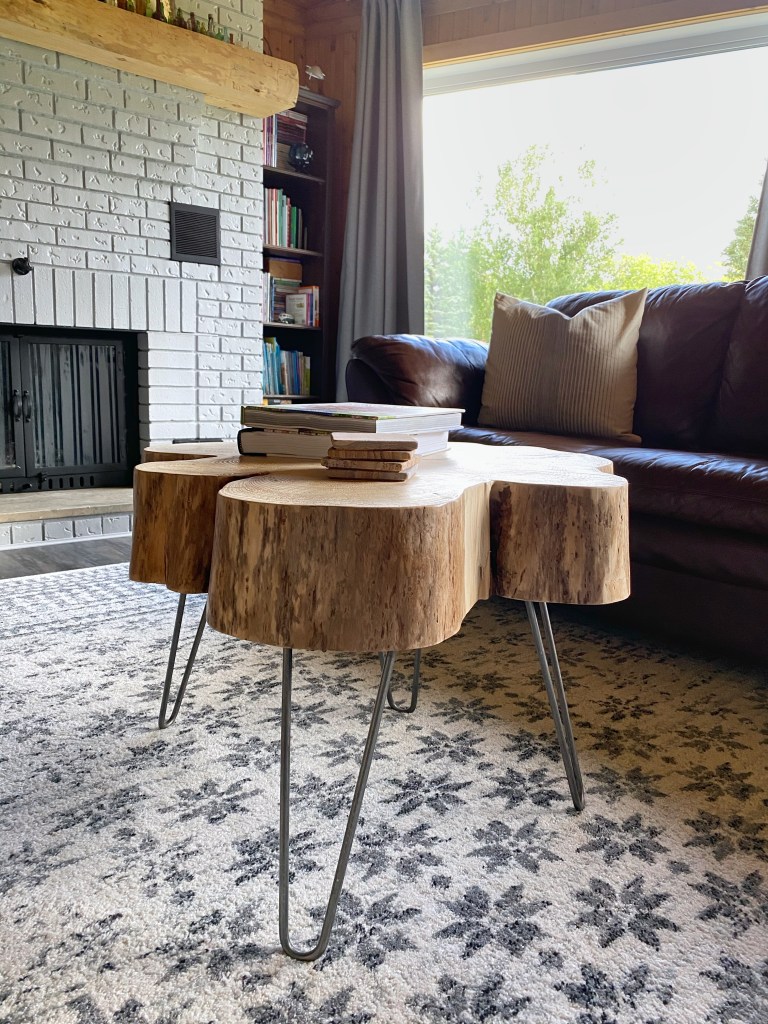
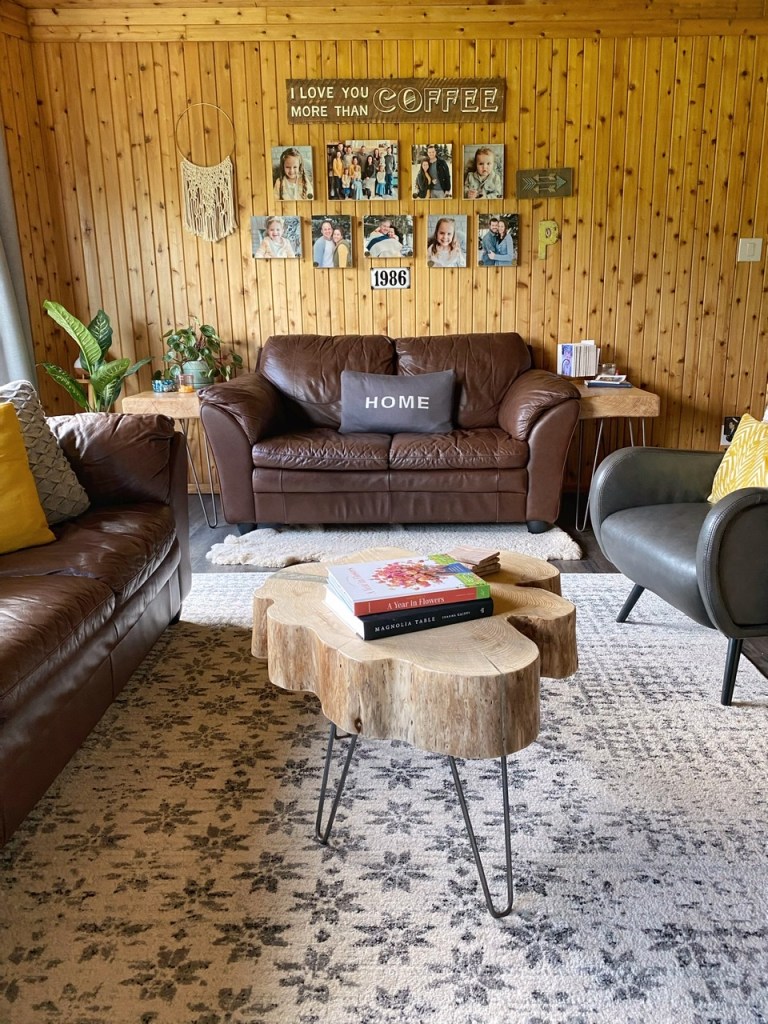
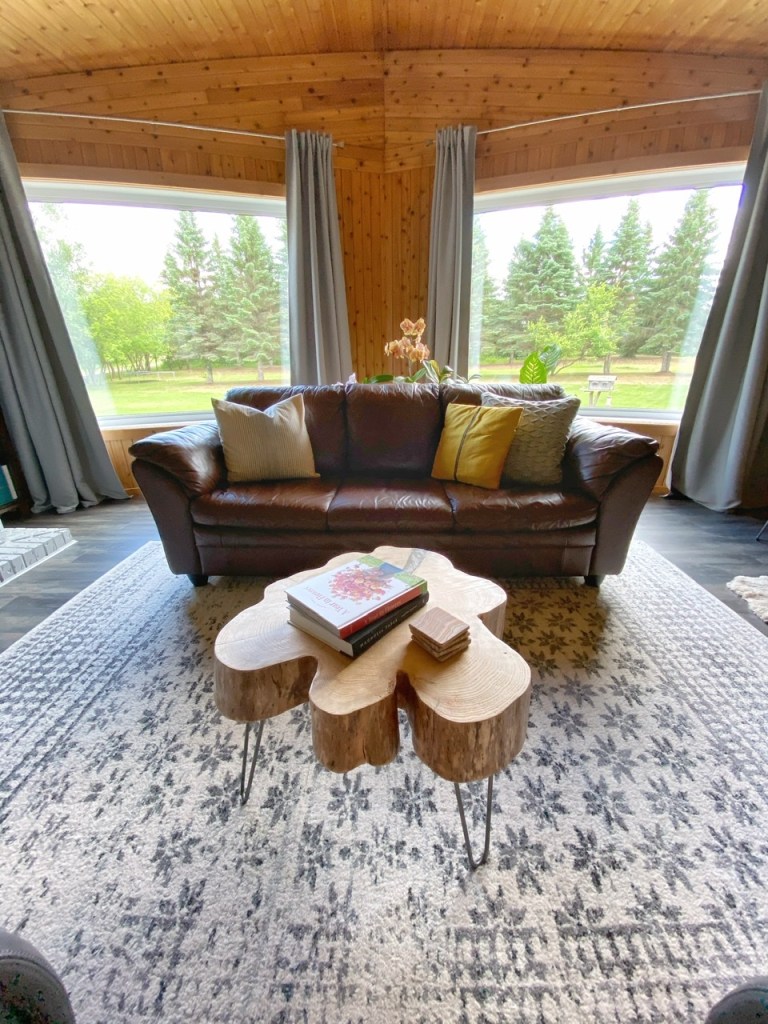
- Carry to it’s new space and stage it for photos.
- TAADAA! Just like magic…or not.
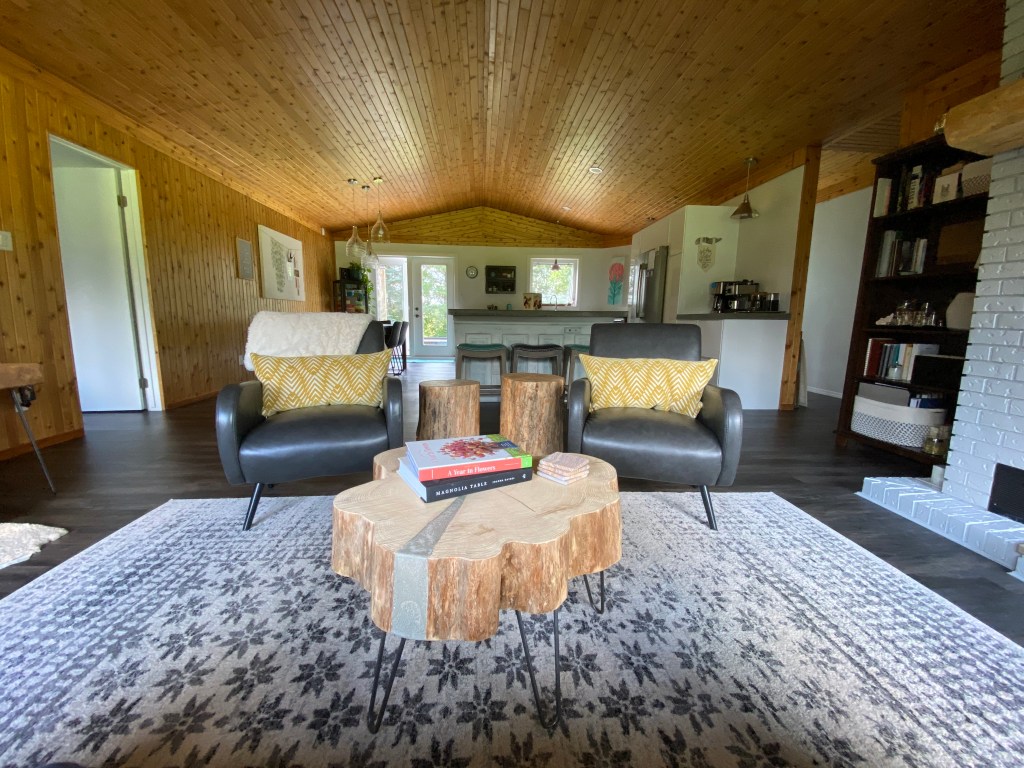
Sincerely, Bonnie
